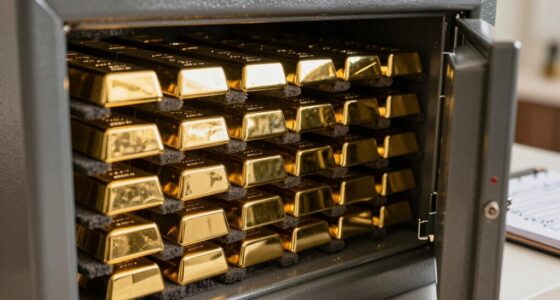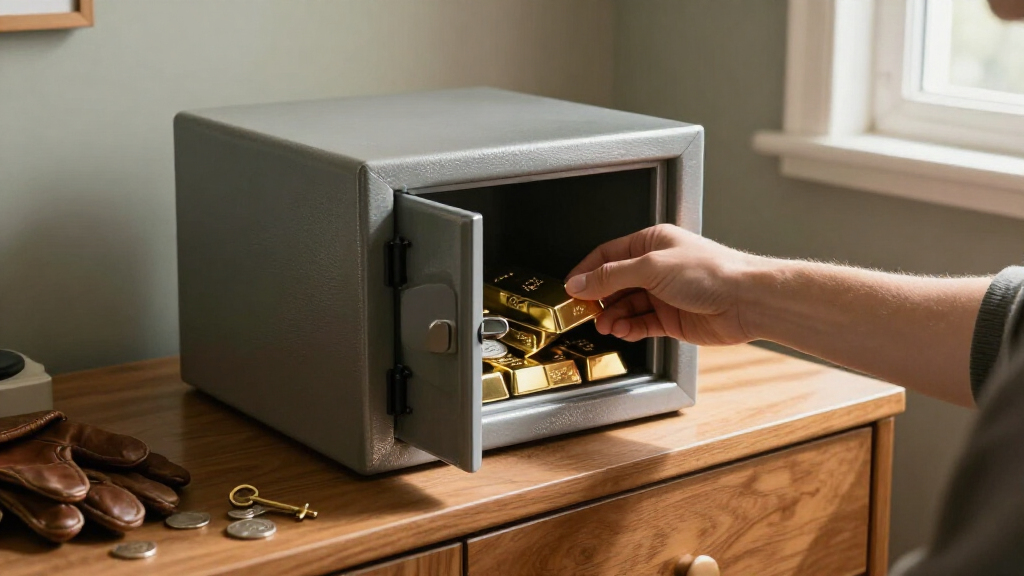
This guide helps you choose and set up a home safe for gold, silver, platinum, or other precious metals. It is for owners who want to protect a modest collection from theft, fire, moisture, and handling damage while keeping records and access organized. Expect 2-4 hours for research, setup, and documentation; buying or installing a safe can take longer.

Get home office essentials delivered free with Prime
- Fast, free delivery on millions of items
- Prime Video, Amazon Music and more included
- Member-only deals all year

Stacker Vault Coin Storage Case for Silver Eagle, Buffalo, and Coin Tubes
- ✔ Dimensions: 9 × 12 × 4 inches
- ✔ Capacity: Up to 12 US Mint tubes or 240+ oz of one-ounce coins
- ✔ Item weight: 3.5 lb

Carbon Fiber Coin Collection Case – Holds 120 Graded Slabs or 1400 Capsules
- ✔ Dimensions: 10 × 15 × 6 inches
- ✔ Capacity: 7.35 liters; up to 120 graded slabs or 1,400 capsules
- ✔ Weight: 1.35 kg

CASEMATIX American Silver Eagle Coin Tube Case – Waterproof Hard Shell Storage Box with Custom Foam
- ✔ Dimensions: 9 × 7.5 × 4 inches
- ✔ Capacity: Up to eight coin tubes
- ✔ Weight: 2 lb
Difficulty: Intermediate | Time: 2-4 hours for planning and setup; longer if a safe must be purchased or installed
What You’ll Need
Tools & Materials:
- A written estimate of the collection’s size and storage needs
- Tape measure and a level
- Safe manufacturer’s installation instructions
- Acid-free coin holders, capsules, or other suitable protective packaging
- A digital scale and camera for inventory documentation
- A humidity monitor if the storage area may be damp
Knowledge:
- Basic familiarity with the metals and items being stored
- Ability to compare safe capacity, lock types, and installation requirements
- Understanding that a safe’s fire rating and burglary rating cover different risks
Before buying, check your insurer’s rules for precious metals, documentation, and storage. Ask about coverage limits, required safe specifications, and whether professional installation is required. Keep purchase records and photographs in a separate secure location. A home safe can reduce some risks, but it does not make the contents risk-free or automatically insured.
Stacker Vault Coin Storage Case for Silver Eagle, Buffalo, and Coin Tubes
For a collection built around US Mint tubes, the Stacker Vault is the most capable all-round choice in this lineup. Its stated capacity of up to 12 tubes or more than 240 ounces of one-ounce coins is well ahead of CASEMATIX’s eight-tube layout. That extra room can consolidate a sizable tube collection into one case, while the IP67 waterproof and dustproof rating gives it the strongest specifically described environmental protection of these picks.Its heavy-duty plastic shell, lockable latches, and stackable shape suit organized storage in a closet, cabinet, or travel setup. The TSA-approved design is a portability detail, not proof that the contents are theft-proof during travel. At 3.5 pounds, this case is also the heaviest listed, and its tube-focused layout may not serve a mixed collection as neatly as LOCKCURX’s removable dividers. We would choose it for bulk tube storage, but skip it if most of our coins are graded slabs or nonstandard formats. Its case lock and shell should not be mistaken for a documented burglary-safe construction.
Pros:
- Holds up to 12 US Mint tubes or more than 240 ounces of one-ounce coins.
- IP67 waterproof and dustproof rating is the strongest specific exposure rating in this group.
- Lockable, stackable design with heavy-duty latches.
- TSA-approved design and a stated lifetime warranty.
Cons:
- At 3.5 pounds, it is heavier than the other listed cases.
- Its tube-specific layout may not fit other coin formats as well.
Best for: Collectors storing many compatible US Mint tubes who want high stated capacity and a specific waterproof and dustproof rating.
Not ideal for: Collectors focused on graded slabs, varied coin formats, or a lightweight case for frequent carrying.
Bottom line: Choose the Stacker Vault for the lineup’s strongest combination of bulk tube capacity and stated environmental protection.
“Choose the Stacker Vault for the lineup’s strongest combination of bulk tube capacity and stated environmental protection.”
Carbon Fiber Coin Collection Case – Holds 120 Graded Slabs or 1400 Capsules
Where the Stacker Vault is built around tubes, LOCKCURX is the organization-first option. Its stated capacity reaches 120 graded slabs or 1,400 capsules, and six removable dividers let us adjust the layout instead of committing to one tube pattern. That makes it the most adaptable pick for a collection that moves between encapsulated coins and slabs. The aluminum frame and MDF panels add structure, while the scratch-resistant, water-repellent exterior is described as useful for everyday handling.The distinction from the Stacker Vault matters: LOCKCURX’s listing says water-repellent, not an IP-rated waterproof and dustproof seal, so we would favor Stacker Vault for storage where moisture exposure is a central concern. Its dual-key lock offers a more explicit locking arrangement than CASEMATIX’s magnetic closure, but the case is still not documented as a forced-entry-resistant safe. At 1.35 kg, it is portable, though not especially light for frequent carrying. Choose it when format flexibility matters more than maximum tube count; skip it if your priority is a sealed tube carrier or a certified security container.
Pros:
- Stated capacity for up to 120 graded slabs or 1,400 capsules.
- Six removable dividers support customizable organization.
- Dual-key lock and structured carbon-fiber, aluminum, and MDF construction.
- Scratch-resistant, water-repellent finish and carry handle.
Cons:
- Water-repellent wording is less specific than the Stacker Vault’s IP67 rating.
- At 1.35 kg, it may feel cumbersome for frequent travel.
- The layout is aimed at standard slabs and capsules, not every coin format.
Best for: Collectors who primarily store graded slabs and capsules and want adjustable internal organization.
Not ideal for: Buyers who need an IP-rated waterproof tube case or a documented high-security safe.
Bottom line: Pick LOCKCURX when flexible slab and capsule organization is more useful than tube-specific waterproof protection.
“Pick LOCKCURX when flexible slab and capsule organization is more useful than tube-specific waterproof protection.”
CASEMATIX American Silver Eagle Coin Tube Case – Waterproof Hard Shell Storage Box with Custom Foam
CASEMATIX takes a narrower approach than the other two: its pre-cut foam holds up to eight compatible coin tubes, giving each tube a dedicated place and reducing movement in transit. That tailored interior is an advantage over the more spacious Stacker Vault if a smaller, organized load is all we need. Its 9 × 7.5 × 4-inch footprint is also the most compact listed, and the top handle makes it straightforward to carry.The product description calls the case waterproof and airtight with a silicone liner, which gives it a moisture-protection focus. However, unlike Stacker Vault, it does not state an IP rating, so the claims are not directly comparable. Its magnetic closure also differs from LOCKCURX’s dual-key lock and Stacker Vault’s lockable latches; we would treat it as a snug protective carrier rather than a security container. The tradeoff is clear: CASEMATIX is easier to size for a modest tube collection, but it holds fewer tubes, and compatibility depends on tube dimensions. Tubes are not included, so buyers need to account for that when planning their storage setup.
Pros:
- Custom foam slots hold up to eight tubes and limit shifting.
- Compact listed dimensions and a top handle support carrying and storage.
- Waterproof claim and silicone liner focus on moisture protection.
- Hard shell is described as protecting against impact and dust.
Cons:
- Coin tubes are not included.
- Foam slots are limited to compatible tube dimensions.
- Magnetic closure is less explicit as a security feature than the keyed LOCKCURX lock.
Best for: Silver Eagle tube owners who want a compact, foam-lined carrier for up to eight compatible tubes.
Not ideal for: Collectors needing high capacity, adjustable space for slabs, or a clearly specified locking mechanism.
Bottom line: Choose CASEMATIX for compact, cushioned transport of a smaller compatible tube collection.
“Choose CASEMATIX for compact, cushioned transport of a smaller compatible tube collection.”
As an Amazon Associate we earn from qualifying purchases.
Before You Start
Decide what the safe must protect against: unauthorized access, fire exposure, water damage, or a combination. Safe ratings and test standards differ, so read the manufacturer’s documentation and ask your insurer which specifications it accepts. A fire rating does not by itself indicate resistance to burglary, and a burglary rating does not promise protection from every fire or flood.
Choose a location that supports the safe’s weight, allows the door to open fully, and meets the manufacturer’s anchoring instructions. Avoid damp areas and locations exposed to leaks or extreme temperature changes. Do not share the location, combination, or collection details more widely than needed.
Step-by-Step Instructions
Step 1: List the items and protection needs
Write down the types and approximate quantities of metals you plan to store, such as coin tubes, individual coins, bars, or jewelry. Note the dimensions of bulky pieces and any packaging you plan to keep. Estimate the value for insurance discussions using your own current records, and identify whether you need frequent access or long-term storage. Keep this working list private.
Tip: Do not choose a safe by advertised capacity alone. Shelves, packaging, and the shape of bars or coin tubes affect usable space.
Check: You have a private list of what must fit, how it will be packaged, and how often you expect to access it.
Step 2: Compare safe specifications
Compare safes using manufacturer documentation for internal dimensions, weight, lock type, burglary testing, fire testing, and installation requirements. Confirm the tested rating applies to the complete safe and identify any limits or conditions stated by the manufacturer. Check whether the safe can be moved through your home’s doors and stairs, and whether the floor can support its weight. Ask your insurer whether the specifications meet your policy requirements before you buy.
Tip: A larger safe may be harder to move and install. Select enough usable space for the collection and reasonable organization, without relying on an advertised capacity figure alone.
Check: The safe fits your items and location, and its documented ratings match the risks and insurance requirements you identified.
Step 3: Select a discreet, suitable location
Choose a dry, stable location with enough clearance to open the door and operate the lock. Check for plumbing, heating equipment, exterior-wall dampness, and other sources of leaks or temperature swings. Confirm the safe’s weight is suitable for the floor and follow the manufacturer’s guidance on anchoring. If you rent, live in a shared building, or need structural work, get the relevant approval and use a qualified installer.
Tip: Avoid locations that make emergency access difficult or expose the safe to a likely leak. Keep installation details private.
Check: The chosen location is accessible to you, dry, structurally suitable, and compatible with the safe’s installation instructions.
Step 4: Install and test the safe
Install the safe according to its manual, or arrange professional installation when its weight or anchoring requirements call for it. Use only specified mounting points and hardware. Set the lock code or prepare the key exactly as instructed, then test opening and locking several times with the door open. Store spare keys and recovery information separately from the safe, in a place protected from unauthorized access.
Tip: Do not close the door until you have successfully tested the lock and confirmed you can operate it. Keep the manual and service contact details in a separate secure location.
Check: The safe is stable, opens and locks reliably, and its access method works as described in the manual.
Step 5: Protect each item before storage
Handle metals with clean, dry hands or suitable gloves, following guidance for the specific item. Keep coins in appropriate capsules or holders and bars in protective packaging when suitable. Avoid adhesive labels, rubber bands, and unknown materials that could leave residue or cause tarnish. Separate pieces so they do not rub together, and do not use household chemicals or polish on collectible items without specialist advice.
Tip: Some metals and numismatic finishes are sensitive to handling or storage materials. Use packaging intended for the item, and consult a qualified coin or metals professional if you are unsure.
Check: Items are clean, dry, individually protected where needed, and arranged so they cannot easily scratch or collide.
Step 6: Organize contents and check conditions
Group items in labeled containers, using neutral descriptions that do not advertise valuable contents. Place heavier items on stable lower shelves if the safe’s design allows it. Keep the door area clear and avoid packing items so tightly that they are difficult to remove. If the room may be damp, place a humidity monitor where you can read it and follow the packaging or specialist guidance for the metals stored. Inspect for signs of moisture or condensation.
Tip: Do not put desiccants or powered devices in the safe unless their use is suitable for the safe and stored items. Follow product instructions and check them on a schedule.
Check: Contents are orderly and accessible, with no visible moisture, condensation, or pressure on fragile packaging.
Step 7: Record the collection and protect access
Photograph each item or group, record identifying details and purchase documentation, and save the inventory in an encrypted or otherwise protected location separate from the safe. Update it when items enter or leave storage. Limit knowledge of the safe location and access credentials to people who need them. If another person must have emergency access, agree on a secure method and record only the information needed to use it.
Tip: Keep a second copy of essential records in a separate secure location. Do not store an unprotected inventory beside the safe or in an account with a reused password.
Check: You can retrieve an accurate inventory without opening the safe, and access information is limited and recoverable.
Step 8: Set a review and emergency routine
Schedule periodic checks of the lock, anchor points, packaging, and storage conditions. Review your inventory and insurance details after purchases, sales, or policy changes. Keep the safe manufacturer’s contact details and emergency instructions accessible without exposing the combination. If the safe malfunctions, stop forcing the door and contact the manufacturer or a qualified safe technician.
Tip: A simple calendar reminder helps catch low batteries, forgotten access steps, and changes in the collection or coverage.
Check: You have a repeatable inspection schedule, current records, and a known contact route for safe problems.
Common Mistakes to Avoid
- Choosing a safe based only on its advertised capacity or a fire rating. — Compare internal dimensions, complete-safe test documentation, burglary protection, installation needs, and insurer requirements before purchase.
- Installing a heavy safe on an unsuitable floor or skipping required anchoring. — Check the safe manual and floor conditions first. Use a qualified installer when the weight, stairs, or anchoring work requires one.
- Storing coins loose or in packaging that can scratch, tarnish, or leave residue. — Use suitable holders and keep items separated. Ask a specialist about delicate or collectible pieces.
- Keeping the combination, spare key, inventory, and safe location together. — Store records and recovery information separately, protect digital copies, and limit who knows how to access the safe.
Troubleshooting
Problem: The safe does not fit through the route to its planned location.
Solution: Measure doorways, turns, stairs, and clearances before delivery. Ask the seller or installer about access requirements and select a compatible route or safe size.
Problem: The lock will not open after a code change or battery replacement.
Solution: Pause and follow the manufacturer’s recovery instructions. Check the documented code-entry sequence and battery type. Do not force the handle or door; contact the manufacturer or an authorized technician.
Problem: You notice dampness, condensation, or tarnish inside the safe.
Solution: Move affected items to a clean, dry, secure place if you can do so safely. Identify and fix the moisture source, inspect packaging, and seek metals or coin care advice before cleaning valuable items.
Problem: Your insurer says the safe or documentation does not meet policy terms.
Solution: Ask for the exact written requirements, then compare them with the safe’s documentation and your inventory. Update the storage arrangement or policy with the insurer before relying on the coverage.
What Success Looks Like
The safe is installed according to its instructions in a suitable location, opens and locks reliably, and has enough organized space for the protected items. Metals are separated and packaged appropriately, storage conditions show no visible moisture problem, and you can retrieve a current inventory and relevant insurance records from a separate secure location. You also know who can access the safe and whom to contact if it fails.
Next Steps
Check the safe, packaging, and storage area on a regular schedule. Update the inventory and insurance records whenever the collection changes, and review access arrangements if household circumstances change. Keep installation and service records with your other secure documentation. Ask your insurer or a qualified safe professional when a new purchase, move, or policy change affects the protection you need.
Frequently Asked Questions
Should I store gold and silver in the same safe?
They can share a safe if each item is protected in suitable packaging and kept from rubbing against other pieces. Follow care advice for the specific metals, finishes, and collectible items in your collection.
Does a fire-rated safe protect precious metals from every fire?
No. A rating describes tested conditions and limits stated by the manufacturer. Read the test documentation and ask your insurer what rating it accepts. Do not treat a fire rating as a guarantee against every fire, heat exposure, or water damage.
Should I bolt the safe to the floor?
Follow the safe manufacturer’s installation instructions and consider the floor structure, building rules, and insurer requirements. A qualified installer can assess anchoring when the safe is heavy or the floor construction is uncertain.
How often should I inspect the contents?
Set a regular schedule that suits the storage environment and the items. Check for moisture, damaged packaging, lock problems, or changes to the inventory, and inspect promptly after a leak, move, or other event that may affect the safe.
Is precious metal stored in a home safe automatically insured?
No. Coverage depends on the policy and its limits, exclusions, documentation, and storage terms. Ask your insurer for written guidance and keep purchase records and an updated inventory in a separate secure location.