To fix camera Wi-Fi dropouts without guessing, start by placing your router centrally and away from electronics that cause interference, such as cordless phones or microwaves. Use dual-band Wi-Fi (2.4 GHz and 5 GHz) and prioritize the 5 GHz band for better stability. Boost your signal with extenders and limit network device connections to reduce congestion. Keep firmware updated, and mount cameras with a clear line-of-sight to the router. Exploring further tips can help you achieve a more reliable connection.
Key Takeaways
- Position your router centrally and elevate it to reduce physical obstructions and improve signal reach.
- Use dual-band (2.4 GHz and 5 GHz) Wi‑Fi to minimize interference and enhance connection stability.
- Install Wi‑Fi extenders or mesh systems to eliminate dead zones and boost coverage for cameras.
- Limit connected devices and assign cameras to a dedicated network to reduce bandwidth congestion.
- Keep firmware updated and mount cameras with a clear line-of-sight to maintain optimal signal quality.
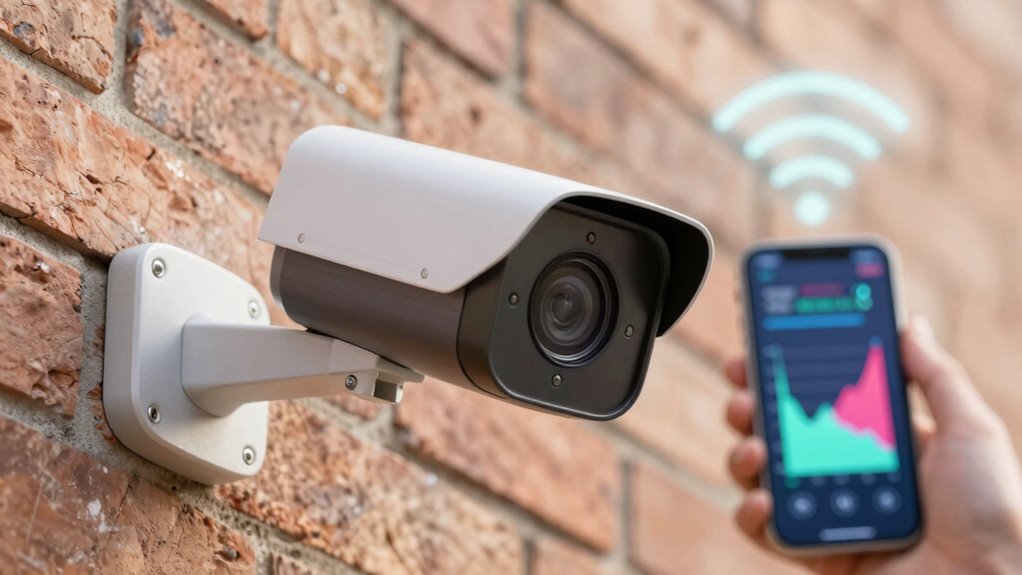
A strong Wi‑Fi signal is vital for ensuring your cameras work reliably and deliver clear, real-time footage. If your cameras keep dropping out or experiencing buffering, the culprit is often a weak or unstable Wi‑Fi connection. Wireless interference is a common issue that can degrade your signal quality, causing interruptions and blurry footage. Devices like cordless phones, microwave ovens, and even neighboring Wi‑Fi networks can interfere with your camera’s signal, especially if they operate on the same frequency band. To improve stability, you need to reduce this interference and strengthen your connection.
A strong Wi‑Fi signal is essential for reliable camera footage and minimal buffering.
One effective way to tackle wireless interference is by repositioning your Wi‑Fi router. Place it centrally within your home or property, away from other electronics that emit radio waves. Using dual-band routers that operate on both 2.4 GHz and 5 GHz bands can also help. The 5 GHz band typically experiences less interference and can provide a more stable connection for your cameras. If interference persists, consider using signal boosters or Wi‑Fi extenders. These devices amplify your existing signal, extending coverage to areas where your cameras are located. Signal boosters can help eliminate dead zones, ensuring a consistent connection with minimal dropouts.
Another practical step is to limit the number of devices connected to your Wi‑Fi network. Each device consumes bandwidth, and too many active connections can cause congestion, leading to video lag or dropouts. Prioritize your security cameras by assigning them to a dedicated network or creating a separate Wi‑Fi network for your cameras. This way, they won’t compete with streaming devices, smartphones, or computers for bandwidth, resulting in a more dependable feed. Additionally, understanding how wireless interference impacts your network can help you take targeted steps to improve signal quality and stability.
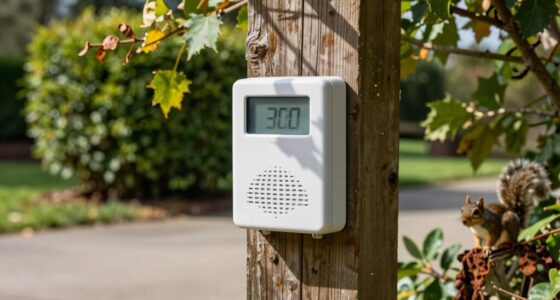
Firmware updates for your router and cameras are often overlooked but are vital for peak performance. Manufacturers regularly release updates that improve connectivity, fix bugs, and enhance security. Make sure your devices are running the latest firmware to benefit from these improvements. Additionally, consider the placement of your cameras; mounting them in locations with clear line-of-sight to the Wi‑Fi router minimizes physical obstructions that can weaken signals.
Frequently Asked Questions
Can Wi‑Fi Interference Affect Camera Signal Quality?
Yes, Wi-Fi interference can affect your camera’s signal quality. Wireless interference from other devices like microwaves, cordless phones, or neighboring Wi-Fi networks causes signal degradation, leading to dropouts or blurry footage. To fix this, you should minimize interference sources, switch to a less congested channel, or use a 5GHz network if supported. These steps help improve your camera’s connection and guarantee clear, reliable footage.
What Are the Best Antennas for Boosting Wi‑Fi Cameras?
Did you know that using directional antennas with higher antenna gain can boost Wi-Fi camera signals by up to 50%? To improve your camera’s Wi-Fi, opt for directional antennas like Yagi or Panel antennas, which focus the signal toward your cameras. These antennas reduce interference and increase range, ensuring a stable connection. Upgrading to high-gain directional antennas is a simple, effective way to eliminate dropouts and enhance your camera’s performance.
How Does Physical Obstructions Impact Wi‑Fi Camera Connectivity?
Physical obstructions like material barriers can greatly impact your Wi-Fi camera connectivity by causing signal attenuation. Thick walls, metal objects, and furniture absorb or block the Wi-Fi signal, leading to weaker or dropped connections. To improve this, position your camera closer to the router, reduce barriers, or add Wi-Fi extenders. These steps help minimize material barriers and guarantee a stronger, more reliable signal for your camera.
Are There Specific Routers Optimized for Camera Streaming?
Think of choosing a router like selecting a reliable highway for your camera traffic. Some routers are optimized for camera streaming, supporting advanced wireless standards like 802.11ac or ax, which guarantee fast, stable signals. Look for models with strong signal encryption to keep your footage secure. These specialized routers reduce dropouts by prioritizing camera data, helping you maintain clear, continuous feeds without guessing or guesswork.
How Can I Remotely Troubleshoot Wi‑Fi Dropouts?
You can remotely troubleshoot Wi-Fi dropouts by performing remote diagnostics and signal analysis. Use network monitoring tools to identify weak spots and interference issues. Check your router’s connection stability, bandwidth usage, and signal strength from a distance. Adjust placement or settings based on your findings. Running speed tests and reviewing logs helps pinpoint problems. This proactive approach guarantees you detect issues early, maintaining a reliable connection for your cameras without guesswork.
Conclusion
By following these tips, you can strengthen your Wi-Fi signal and keep your camera feed steady. Remember, it’s better to nip problems in the bud before they grow into bigger issues. With a little troubleshooting and patience, you’ll have your cameras streaming smoothly, like a well-oiled machine. Don’t let weak signals hold you back—think of it as tightening the screws before the whole thing falls apart. Stay proactive, and your security stays solid.